
HRV Hardware
I'm a great believer in "DIY", and tend to try fixing stuff myself, since I usually do as good a job and save a fortune.
This applied to my home's HRV Gen2 (Classic Lite) installation which includes a slave unit.
It was installed about 10 years ago by a previous owner, and I thought it was time for a filter change, since they haven't been done for at least two years.
Once opened, the inside was filthy, with dirt and mould, so it was time for some serious maintenance. To make this easier, both units were removed from the ceiling.
Dismantling it completely is reasonably straight forward, and makes it easier to give it a thorough clean. If you aren't confident to do this, just clean where you can reach.
It is important to keep the fan clean to maintain good airflow.
The first step is to turn of the power and disconnect the power and display panel cables, then remove the end with the duct attached, as if replacing the filters.
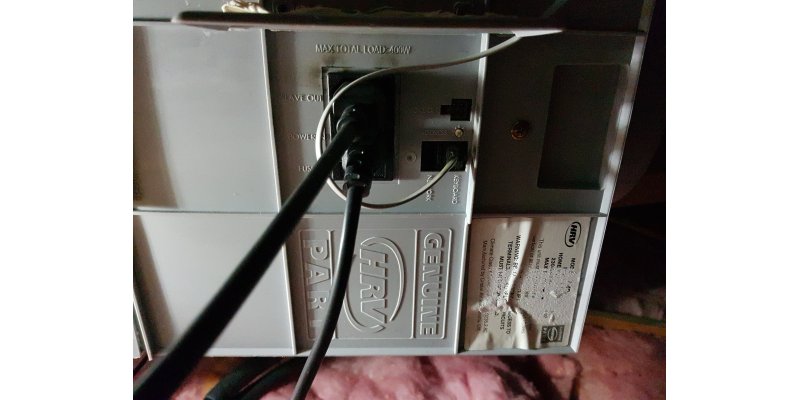
Mine was slung over the rafters with straps, so I released it and removed the whole unit, minus the end with the duct which was cleaned in place.
Once on the ground, it was much easer to dismantle and clean.
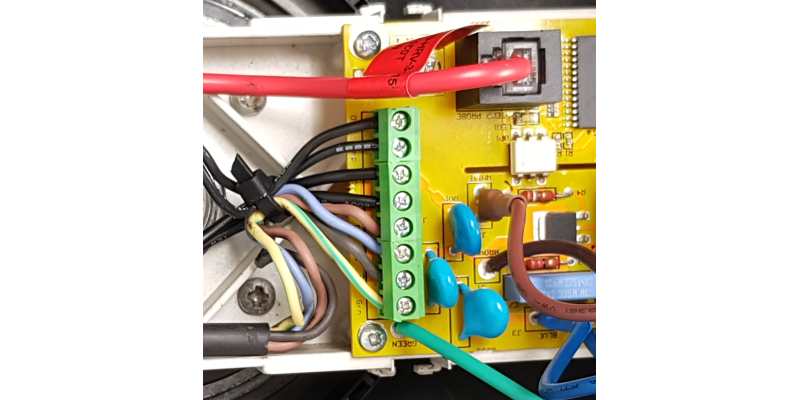
First, remove the controller board cover. This is a bit tricky as the clip is hard to move with the fan close by. A bent paperclip may help to move it outwards to release, but take care not to snap them.

Remove the two screws holding the controller pcb in place and move it towards the centre. Note that the address switch protrudes through the box and care needs to be taken to avoid damage.
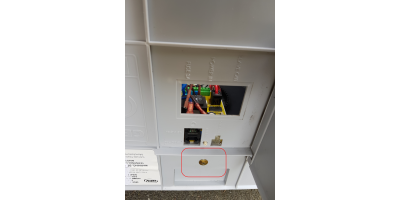
Remove the two screws holding the fan assembly in the box shown circled in red

On the power socket, note where the wires go to and then remove them, then remove it by pressing the four clips on the top and bottom and popping it out the hole.
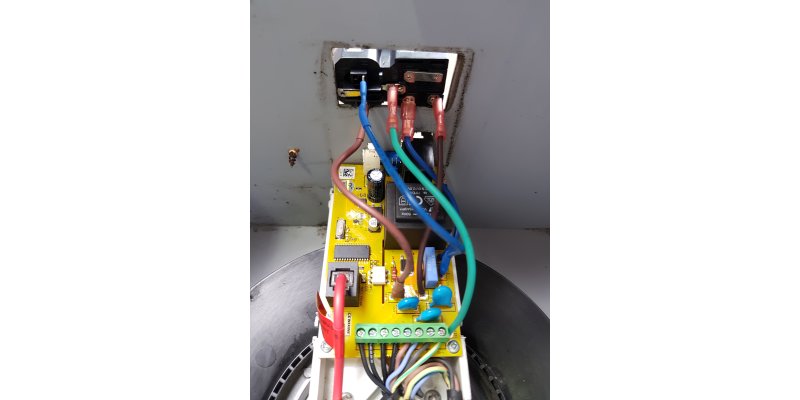
Pull up on the fan assembly centre mounting, and it will slide out of the slots on the side.
Using a damp cloth with an anti-bacterial spray, I cleaned the fan and especially the blades thoroughly. It is easier to hold the fan by the drum. Also clean the mounting bar on both sides.
Clean the plastic box on the inside and outside.
I then reinstalled the boxes in the ceiling and replaced the filters. Mine both had an "umbrella" over the connector area that needed some attention, as the sealant used had not stuck and the screws holding it were not origional. I don't know if this is a standard part. I used duct tape instead of sealant, and will see if it lasts.

My comments on the HRV gen2
With this older HRV system, when powered off on the control panel it stays off, unlike some later models that turn themselves back on.
The overall construction could be better - the latches that hold the duct end on are useless, and the screws on each side look more like an afterthought or repair bodge.
My HRV usually stays off unless there is warmer air available in the ceiling. This is to conserve power by not throwing away warm air especially in winter.
I found that an HRV works best in autumn and spring, saving use of the heatpump, and sometimes is useful to cool the house in summer, provided the roof temperature allows it.
In the future this unit may all be controlled by my Home Assistant. There was a user that had explored this, now archived here and a project for OpenHAB and Arduino here
For those technically minded, a quick look at the controller board shows a PIC 16F1933 microprocessor and a BT137S-600 triac used to control the fan.
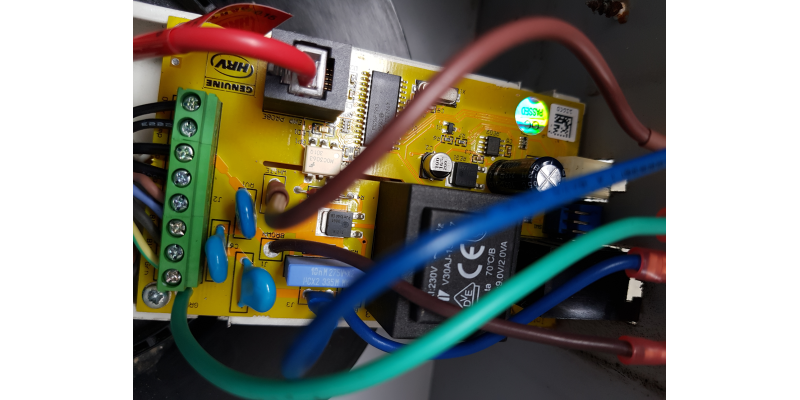
The temperature sensor (red cable) is a DS18B20, an inexpensive part but will likely require the plug fitted.
The fan is a Ebm-Papst R2E220-RA38-01.

The network and smoke detector ports are unused.